The concept of C3 is pretty easy to explain. It’s a 3D puzzle game about world rotation. Easy. However, properly conveying the individual mechanics and behaviors of the objects in the world is another matter.
From the start, the goal of the tutorial was to convey the mechanics in the most seamless and simplistic way possible. To us this meant no pop-up screens with lengthy descriptions of how things worked. We would simply give the player a room with the simplest implementation of our rotation mechanic. This is what I came up with.
It’s a room that needs to be rotated 180 degrees on the x-axis. Simple, clean, bare-bones, right? Nope. There’s a lot more going on in this room. This was the first playable space in the game, so we needed someway to convey basic things like controls for movement, shooting, camera functions, and how to interact with special objects in the world. We decided to put all that information on the computer in the lower left, because computers are also used in the game and the player needs to know how to use those. The player also needed to know about the arrow system, which informs which way the room rotate depending on the type of shot fired (and that there are two shots that can be fired), the room’s light system, which activates when the room is in the correct orientation and opens the exit door, and of course the difference between the black and white platforms…obviously.
Needless to say, we were trying to throw way too much information at a new player. And we saw this at E3. Most players were simply overwhelmed by the amount of information, became confused, and we ended up having to stand over their shoulders and explain our game to them, which sucked. When we got back, we knew the tutorial needed a major overhaul. The mechanics needed to be spread out in order for players to recognize and understand their individual functions, as well as let players discover how the mechanics added up to create the game experience.
So with input from the group and all of the feedback gained from E3, I began to build out a new tutorial level. And I’d like to run through that level here to explain the new approach and create an open forum for feedback. Please write whatever observations or suggestions you may have in the comments. I would really appreciate it.
**Just wanted to point out that this level is still a work in progress and has a lot of placeholder meshes and textures.
Room 1: Control Screens, The Green Rotation Cube, and A Green Light
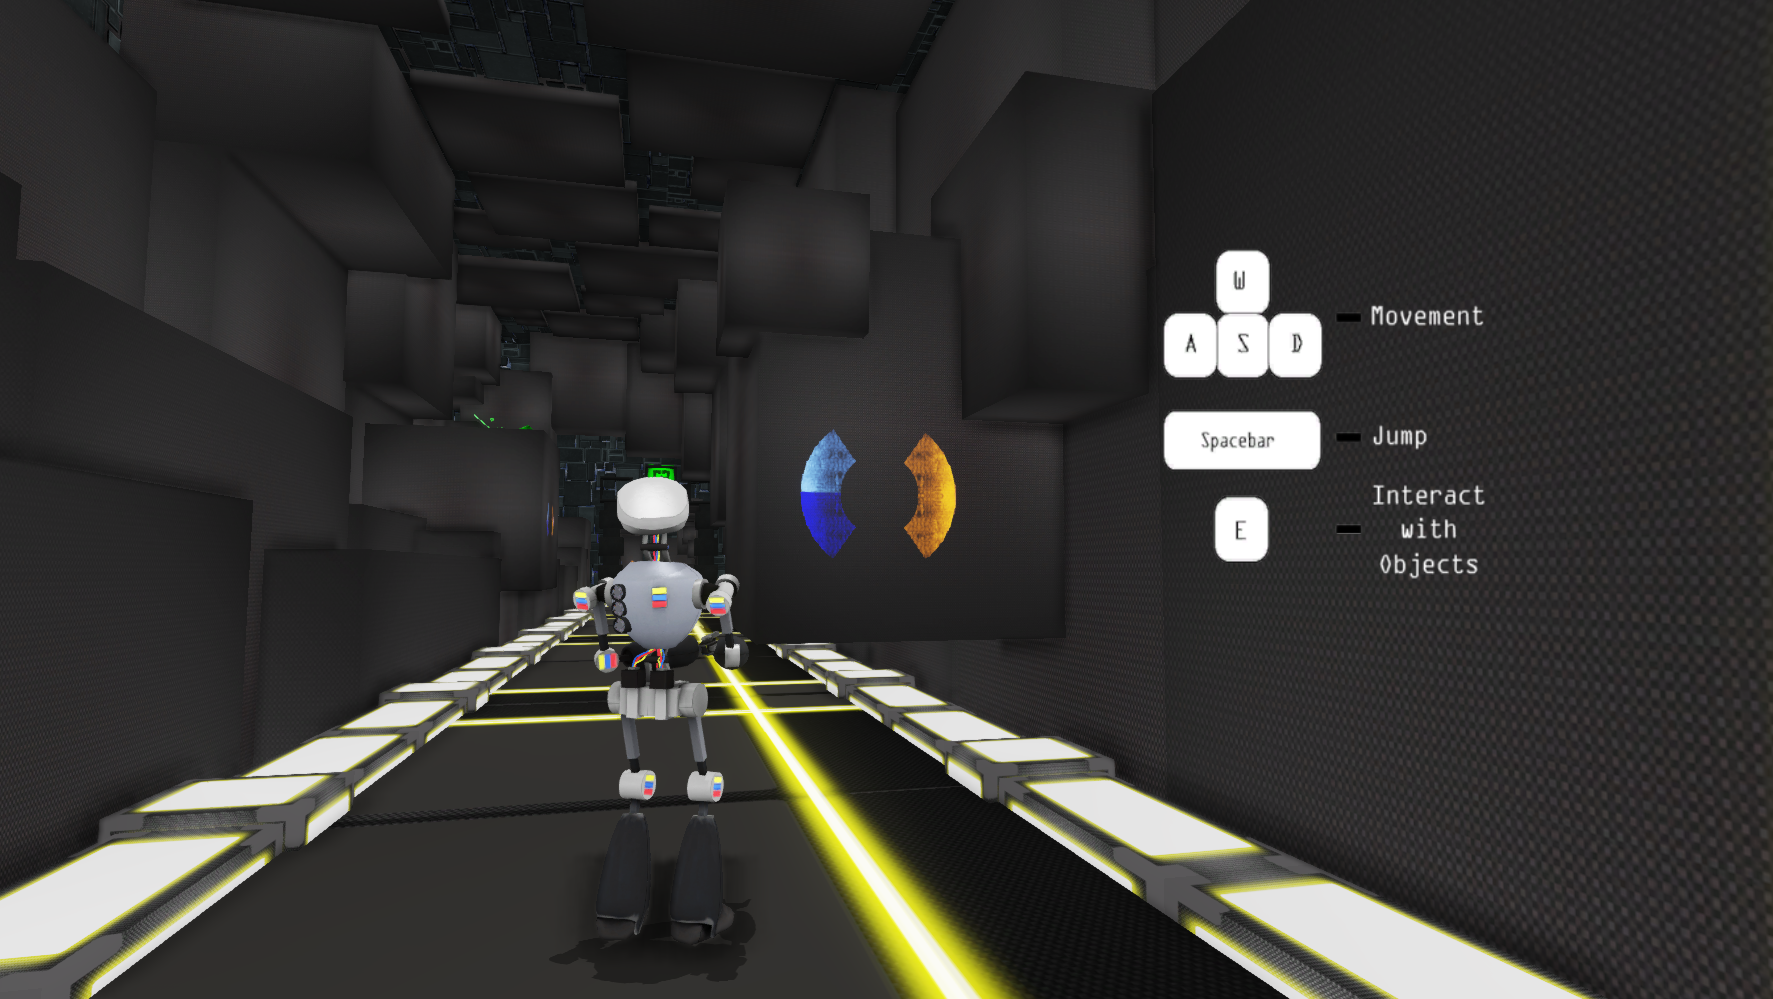
Instead of having to access a terminal to see the control screens, we now use Line of Sight triggers to quickly pop them on and off the screen when the player is looking at these alien symbols on the walls (alien symbols coming soon). This lets the player quickly see the information, or skip it altogether, in a way that feels organic and in line with the world.
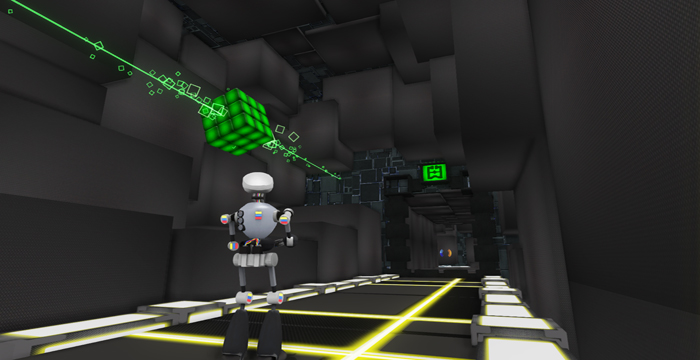 At the end of this room are the green rotation cube and an open door, with a green light above it. This is so the player can observe these elements and maybe even begin to see the correlation between them.
Room 2: White Platforms and Some Drops
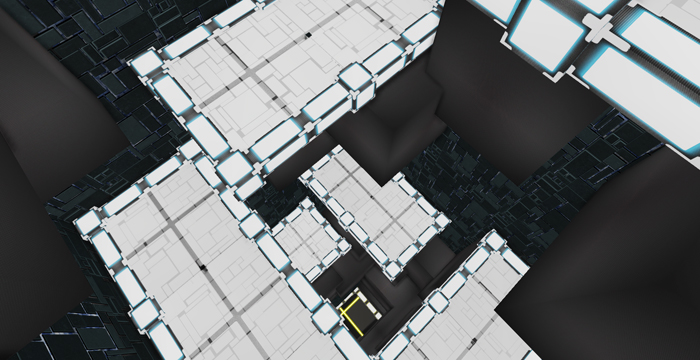 These platforms, like the green cube in the previous room, are really just here to introduce them to players, even though their function is not clear yet. This room also emphasizes some of the themes of the game, like descent into a mysterious place and the, uh, unpleasantness of claustrophobic areas.
Room 3: A Purple Rotation Cube, Light and Door
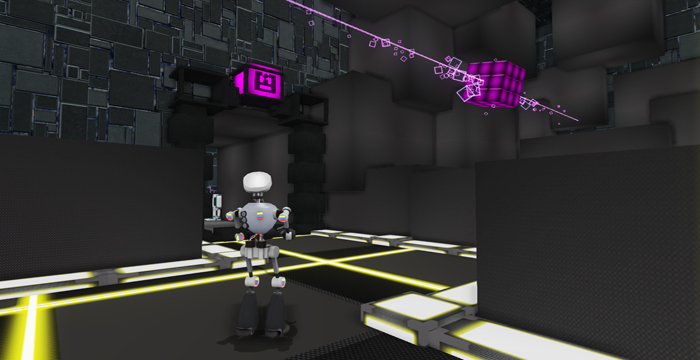 This room is here only because of the next room, which also has a purple cube but is where the player will get the gun and use it to exit the room. But the intent is that at this point the player should recognize the situation, that there is a cube with an open door and a light above it. The correlation between these two objects was something that a lot of people missed at E3 and I wanted players to have plenty of opportunities to see them right next to each other.
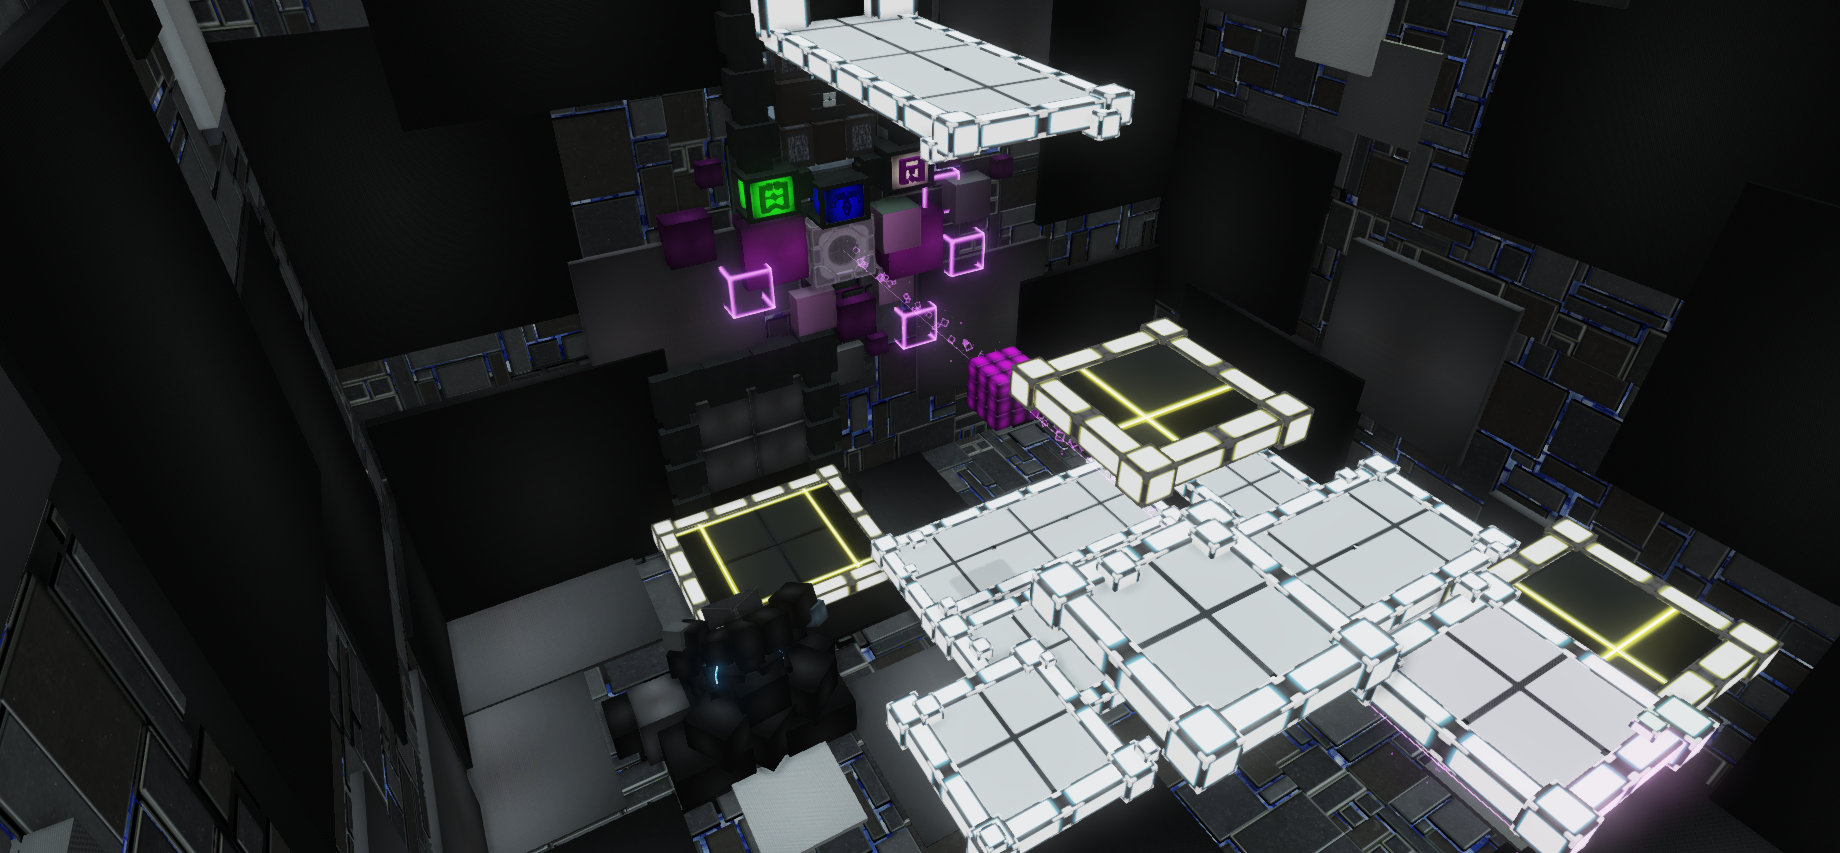
Room 4: Puzzle Room
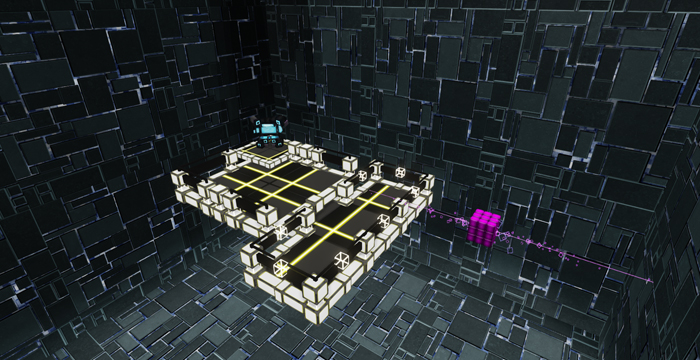 This is it, a slightly more stripped down version of the first take on the tutorial, but by this point the player has had the chance to get used to the controls and observe the game elements, and now should be ready to interact with them. The player still doesn’t have the gun though, and can only interact with the computer at this point. When the terminal is used, a virtual sequence is activated where B.O.B. is given the gun and asked to shoot each rotation cube.
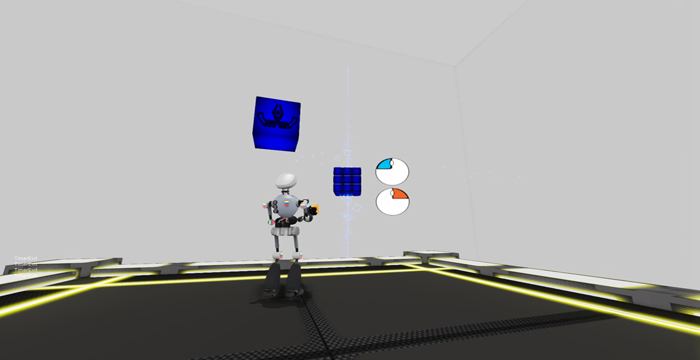 When this sequence starts, the gun descends on a pedestal from the wall. A rotation cube appears as the player picks up the gun, along with a light in the off state. When the player looks at the rotation cube this mouse HUD icon shows up, indicating which click fires the blue and orange projectile. It doesn’t matter which projectile is fired, as the room will rotate appropriately and the light will always come on. Then the current cube and light will disappear and the next cube will fade in.
What’s important about this room, and why it takes place in a virtual space, is that it allows us to break (bend) the game rules. We can convey the concept of dual rotation on each axis and its relation to the lights without a moving door or specific room orientation. Once the player shoots all three cubes, B.O.B. is sent back to the main room.
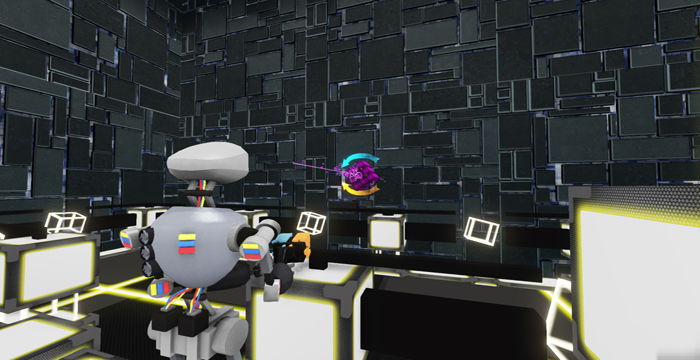 Here, the mouse HUD icon is replaced with the standard arrow system and all the player has to do is shoot the purple cube once with the blue projectile (or three times with the orange).
It still is a lot of information for the player to absorb in a single level, but piecing it together over the course of a level is much better than trying to cram it all into a single room. Part of the design challenge is that all of these mechanics and feedback systems are necessary for the core gameplay, which means they have to be introduced at the same time to allow the player to see how they all fit together.
There are still small refinements being made to the level, and of course an art pass, but this is the version we’ll be submitting to few competitions, where hopefully we’ll receive more feedback and continue to refine the tutorial. I’ll try to update this post with improvements to the tutorial.
Thanks for reading
Donald

Leave a comment